How to Fix a Broken Necklace Chain
Posted by Deven Davis on
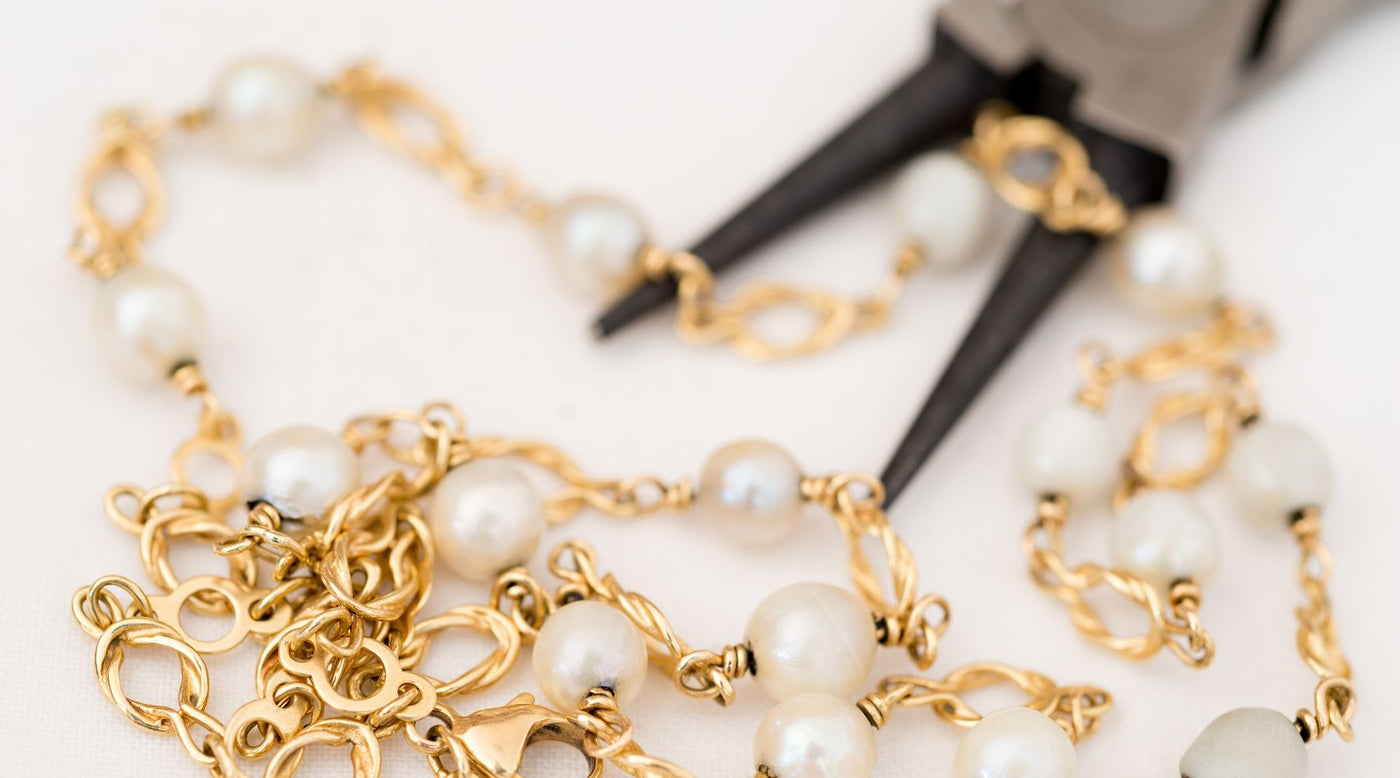
How to Fix a Broken Necklace Chain
Are you trying to figure out how to fix a broken necklace chain? If yes, you should check out our detailed guide by clicking here.
Keyword(s): how to fix a broken necklace chain
Wearing the perfect necklace can sometimes be the one thing that takes an outfit from drab to fab without much effort. You probably have necklaces that you love to wear in your jewelry closet!
When you've realized the chain of your favorite necklace is broken, you may be a little panicked. You don't want to throw out the necklace (even if it has a broken chain), so what can you do?
Repairing a broken necklace chain isn't as difficult as you may imagine, but it does take some special tools and a lot of patience.
If you're looking for tips on how to fix a broken necklace chain, keep reading to find out the basic steps that you can take to fix the chain and wear your necklace once again.
Obtain Your Supplies

Some of the things that you'll need before you start working on your chain necklace include:
- A magnifying lens, like a magnifying glass or a microscope
- Screwdrivers
- Pliers
- Forceps
Make sure the supplies you're getting are proportionate to the necklace chain size. For instance, you may want to consider getting the tiny pliers that people use for tying fishing lures instead of the kind you'd get for household chores.
The magnifying lens you get will be used to better see the rings in your necklace chain, so the type of tool you use for this will depend on personal preference.
In some cases, you may need to force open a ring on your chain and then use your small forceps to link the open chainring to the opposite side. The little pliers help you to close the connection afterward, which we will explain more later.
Another option is to purchase a set of jewelry crafter tools. This is a useful thing to invest in if you have a lot of necklaces or plan to make a trade out of doing this for other people. You may want one to make your own jewelry as well!
The set will come with all of the tools you would ever need for this type of project and you can buy one from any type of craft or jewelry making store. Be sure to also get some extra chainrings (or links) while you're there in case you need them for future projects.
Setup Your Work Area

The main thing to remember is that you need a flat surface to do this work. A kitchen table, a desk, a vanity, or a sewing table would all be appropriate.
Remember that you want the surface to be clear of anything else because if something falls while you're working on it, you need it to land on the flat surface rather than on the floor or your lap. You don't want to lose part of the necklace as you're repairing it!
You'll also find that you can stabilize yourself easier when you have a surface to prop your arms or hands on as you work. This will help prevent you from accidentally breaking the necklace further on accident.
Don't forget that this process can take a lot of time, especially if the break is severe. Even an expert jeweler is going to take a while to repair an expensive chain necklace break.
The job needs to be done correctly and that doesn't necessarily mean it will be done fast. You may need extra time as you're getting started if you've never done it before! Just remember that with time and patience, you'll be able to repair the necklace and feel more accomplished for doing so on your own.
How to Fix a Chain Necklace

The first thing to do after getting the supplies you need and setting up a work area is to use your pliers. You will want to separate the last chainring on your chain necklace before the break started.
All chain necklaces start as wire, so pliers are the best way to break this apart further without damaging the actual integrity of the necklace.
If the chainring that's broken isn't open, you'll have to force it open before using the pliers. You can do this with your forceps or the small screwdriver depending on which looks like it will be more effective for the break.
After separating the chainring away, you will need to carefully link this chainring with the next chainring in line that isn't broken. Using the pliers, you'll then close the chainring that you've been working with gently and bend it so that it doesn't open on its own.
This sounds very simple (and it really is), but don't get frustrated if you can't get it right away. This is delicate work that takes steady hands and a lot of patience!
Some chain necklaces have multiple layers, so if that's the case, be sure that you're also attaching the chain you're working on to the main section in the back as well.
You can use the same method of linking the last chainring with the main one in the back for this and gently close it up with pliers.
Now You Know How to Fix a Broken Necklace Chain
If you've been wondering how to fix a broken necklace chain, it's probably because you have a necklace that needs repairing.
You now know enough to do the job yourself! If necessary, don't be afraid to consult a professional if you really can't get it to look the way you want it to.
Do you want to add some necklaces to your collection? We have adjustable chains that you will love and a variety of pendants that make any outfit pop.
Check out our whole collection of necklaces and update your jewelry wardrobe today!

