All About Sterling Silver Jewelry Repair
Posted by Deven Davis on
All About Sterling Silver Jewelry Repair
Is your sterling silver jewelry broken and you want to know how you can repair it? Learn more about jewelry repair here.
Keyword(s): jewelry repair


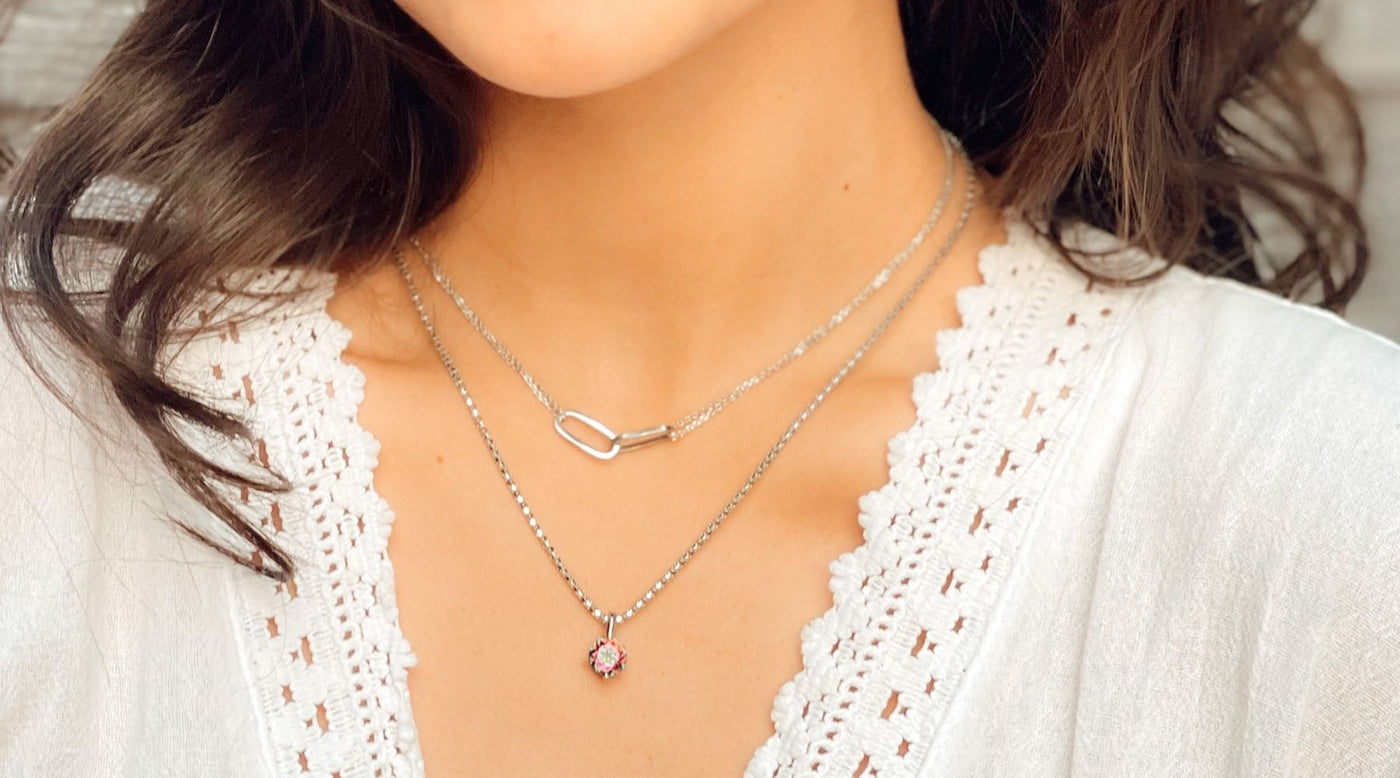
Have you finally established your own personal brand? Have you curated and collected an array of high-quality jewelry that perfectly conveys your "you" to the world?
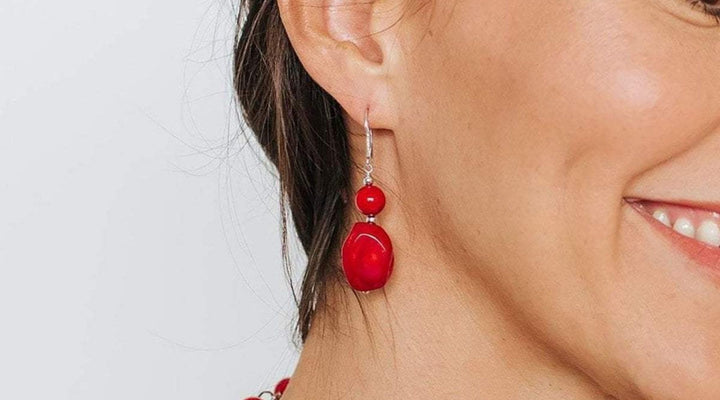
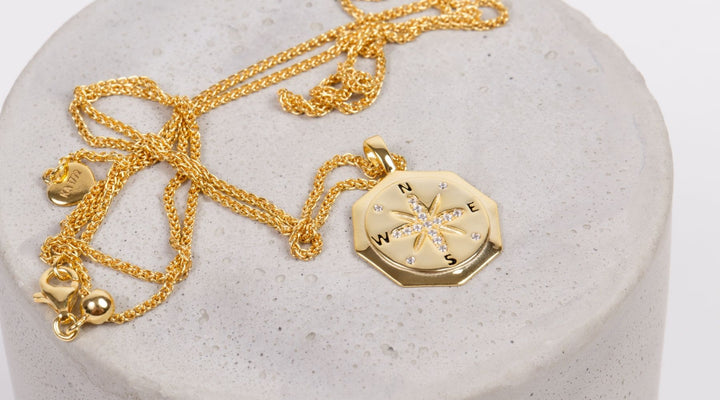
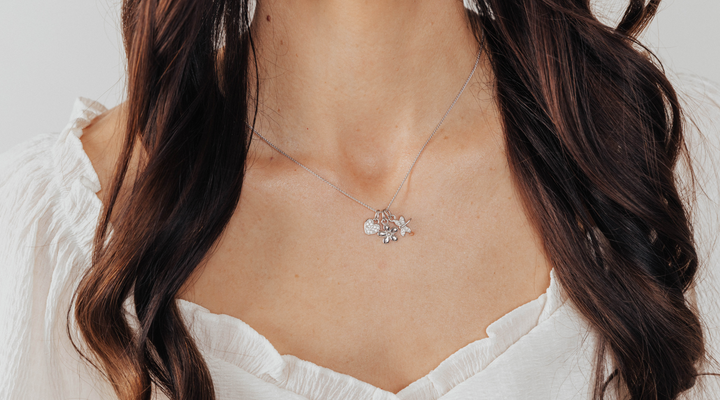
Maybe you have, or maybe you're still in the process. But due to the incredible benefits of sterling silver jewelry, it's very likely that you already have several pieces of it in your collection. Despite its relative durability compared to gold, though, silver clasps and chains are still prone to breaking.
So take a look at this brief guide to sterling silver jewelry repair. You'll be glad you did if misfortune does befall that one silver necklace you can wear with everything!
Jewelry Repair Using Hand Tools

Whether it's a piece of men's or women's jewelry that has suffered a breakage, the basic construction is the same, so you're going to employ the same methods to perform your repair.
Clasps are a common breaking point, and repairing them is a relatively simple, painless task. And all the better, because a piece of jewelry does you no good if you can't wear it, no matter how pristine its condition otherwise.
For this procedure, you'll need:
- New clasps and extra jump rings (usually silver-plated)
- Small flat-nosed pliers x 2
- Good overhead lighting
- Hands-free magnifying glass (optional)
Procedure
First, find the slit (which is really a tiny gap) in the jump ring that connects the clasp to the piece of jewelry. Now, grip the ring on one side of that slit with the jaws of one of the pliers. Then, using the other pair of pliers, grip the ring on the other side.
Widen the gap in the ring by slowly rotating forward with one hand and twisting backward with the other. Ensure that you don't pull horizontally on the sides of the ring. That will make it extremely difficult to bend the ring back into proper shape, and trying to do so will likely just snap the ring in half anyway.
The old clasp should now slide free. If there are any damaged jump rings (including the one you just opened), open and replace them as well.
Now you can hook the new clasp onto the open jump ring and then twist it closed. Make sure the jump rings are closed tightly and the new clasp is secure.
And that's it, you're done!
Jewelry Repair Using a Soldering Torch

If you need to repair a broken chain, chain links, rings, settings, or charms, then you can light 'em if you got 'em. This task requires some patience and practice, and you'll also need the following supplies:
- Pickle solution
- A soldering torch
- Hard silver solder
- A towel
- A small paintbrush
- Tweezers and/or small flat-nosed pliers
- Wire cutters or sharp scissors
- Heavy work gloves
- Eye protection
- Fire brick
Soldering Torch?
Wait, don't we mean "soldering iron?" No, we said what we meant!
Sure, soldering does involve melting bits of metal onto other bits of metal, and a soldering iron does just that. So why wouldn't one be appropriate for repairing your silver jewelry?
Soldering irons are usually used for soldering electrical wires together and melting soft solder, which is usually tin- or lead-based. These materials have relatively low melting points (around 752°F).
Therefore, soldering irons aren't designed to get up to the temperatures required to melt the hard silver solder (1640°F) used in jewelry repair.
This is where soldering torches come in. They can be fueled by tanks of butane, propane, or other clean fuels. You can see what a suitable soldering kit for beginners includes here.
Procedure
"Safety first," they always say. And they're right.
First, make sure your workspace is clean, well ventilated, and free of flammable items. Also, make sure to shield your work surface from heat with a tile or other heat-resistant object that's large enough to work on. Don't forget to use heavy gloves to protect your hands from the heat of the soldering torch, and wear some goggles for good measure!
- Prepare your jewelry by letting the pieces you're going to solder sit in a pickle solution;this removes any grease or oil from the surface that could interfere with soldering.
- Remove the jewelry from the pickle solution using tweezers and place the pieces that are to be soldered onto the fire brick.
- Use your wire cutters or sharp scissors to cut off tiny pieces of solder;set them aside.
- Apply flux to the area you're going to solder with a small paintbrush.
- Use a pair of tweezers to place the pieces of solder you cut in Step 3 between the parts of silver you want to join together.
- Ignite your torch and begin heating the silver;don't heat the solder directly! When you see the solder starting to run into the space you want connected, remove the flame.
- Use your tweezers or pliers to pick up the still-hot piece of jewelry and quench it in a bowl of water.
Removing Shallow Scratches in Your Silver Jewelry

Tiny scratches may accumulate on the surface of your sterling silver jewelry, either while you're performing repairs or over the course of normal wear. These scratches may not lead to breakage, but they can cause your silver to lose its shine.
You can remove these scratches by buffing them out with a microfiber cloth. These are designed to buff and polish silver without harsh cleaning chemicals or polishing agents, which can damage the protective coatings (like rhodium) that are often added to sterling silver.
Keeping Your Silver Jewelry Clean

Everything from sterling silver body jewelry to silver eating utensils builds up tarnish over time. Part of keeping your silver jewelry in a good state of repair is keeping it as radiant as the day you got it. Luckily, you can click here to access a quick guide we prepared to help you with DIY jewelry cleaning.
Back to Your Collection

Now that you don't have to fret over what to do if a precious piece of your sterling silver jewelry gets damaged, you can get back to crafting your own signature look with Roma.
So if you plan on making some elegant pieces of sterling silver a part of that look—and free shipping to anywhere in the United States on orders over $50 catches your fancy—then click here to browse our stunning selection of silver necklaces, bracelets, earrings, and more!